I've just had a fun run-in with the so-called police virus.
The version I encountered basically locks up your computer, attempts to access your webcam and shows a full screen notification with several police logos and a note that if I don't deposit 100€ as a fine, legal action will be taken.
Starting the computer in safe mode did not work, because windows immediately rebooted upon startup.
Don't panic if it happens to you. The authorities are not involved.
Also, do not pay, it will only encourage others to pull off similar stunts.
Steps taken to solve the problem:
- Intall Hitman pro kickstart (Link) on a usb drive using another computer
- Boot from the usb drive ( For asus, boot selection activates by holding esc from the moment you press the power button)
- Choose option 3
- System will start up and hitman pro kickstart will override all other processes and appear fullscreen.
- Start the scan and let it run
- Reboot
- Full system scan with malwarebytes and avast for good measure
Saturday, June 15, 2013

Monday, May 20, 2013
Latest blender experiment
I'm in the process of rendering a tanker (ship).
Still early progress'ish, but coming along quite nicely.

The materials were acquired from blender open material database
Only around 366 faces for this one, but only one problem.
It takes forever to render, so I doubt it's suitable for ingame use yet.
I'm going to try to bake it next.
First attempt, copy the mesh, unwrap and bake to selected.
Result: too dark
 Used two standard lights in the baking process.
Second attempt: used a normal baking method this time, results are better this time, and I might actually be able to use it as an ingame passive prop now.

Still early progress'ish, but coming along quite nicely.

The materials were acquired from blender open material database
Only around 366 faces for this one, but only one problem.
It takes forever to render, so I doubt it's suitable for ingame use yet.
I'm going to try to bake it next.
First attempt, copy the mesh, unwrap and bake to selected.
Result: too dark

Second attempt: used a normal baking method this time, results are better this time, and I might actually be able to use it as an ingame passive prop now.

Thursday, May 9, 2013
3D scanning experiment
I've had this fun little experiment in my head for a short while now, and I decided to give it a go.
I've basically just improvised a crude 3D scanner.
Components used:
- Trust spotlight webcam (paid around 9,99€)
- Laser level square (was lying around in garage, price unknown, but didn't feel like getting the parts required to build diy line laser)
- David laserscanner software (free)
- Sheet of cardboard/foam plates at a 90° angle to keep calibration sheet in place.
Here's a single angle attempt at scanning so far:
 It's a scan of a little sculpt I did a few years ago.
Issues I have yet to properly resolve:
- The residues you see around the scan results. Can probably resolved through more controlled sweeping of the laser line and tweaking of the scanning corner.
Issues I have run across and found a solution for:
- Can't start camera error: under hardware setup, click the camera format button, and set up the format. The camera should start up now.
- Calibration issues: Place the camera close enough to the scanning corner, make sure enough of the markers are in frame, use a flashlight/lamp to illuminate the scanning corner and tweak the cam properties (contrast and brightness specifically)
- Laser not detected: Change the cam properties, again tweak contrast and brightness.
Software can be downloaded at: http://www.david-laserscanner.com/
I've basically just improvised a crude 3D scanner.
Components used:
- Trust spotlight webcam (paid around 9,99€)
- Laser level square (was lying around in garage, price unknown, but didn't feel like getting the parts required to build diy line laser)
- David laserscanner software (free)
- Sheet of cardboard/foam plates at a 90° angle to keep calibration sheet in place.
Here's a single angle attempt at scanning so far:

Issues I have yet to properly resolve:
- The residues you see around the scan results. Can probably resolved through more controlled sweeping of the laser line and tweaking of the scanning corner.
Issues I have run across and found a solution for:
- Can't start camera error: under hardware setup, click the camera format button, and set up the format. The camera should start up now.
- Calibration issues: Place the camera close enough to the scanning corner, make sure enough of the markers are in frame, use a flashlight/lamp to illuminate the scanning corner and tweak the cam properties (contrast and brightness specifically)
- Laser not detected: Change the cam properties, again tweak contrast and brightness.
Software can be downloaded at: http://www.david-laserscanner.com/
Wednesday, May 1, 2013
Mecha design process
It's been a long while since I posted.
I'm doing this particular design in steps, and will add to this post as I move along with the design.
The newest image will be on top of the list.
The basic premise: A simple mass production mecha model without a head and with the ability to design some variant models... oh, and a reasonable polygon count.
Stage 6: added some more detailing to various parts, as well as modifying some of the materials a bit.

Fifth stage: added some basic materials, next up, more detailing.
Poly count for this stage model: 2K'ish faces
 Materials acquired from: http://matrep.parastudios.de/
Fourth stage: Legs reworked, next up, texturing

Third stage: arms reworked, now busy with the legs.

First stage was just a crude first design to figure out the general layout of the machine, and in the second stage I expanded on the cockpit and spine sections of the machine.
Polygon count is still quite low, with just under 2K faces for both models combined.

I'm doing this particular design in steps, and will add to this post as I move along with the design.
The newest image will be on top of the list.
The basic premise: A simple mass production mecha model without a head and with the ability to design some variant models... oh, and a reasonable polygon count.
Stage 6: added some more detailing to various parts, as well as modifying some of the materials a bit.

Fifth stage: added some basic materials, next up, more detailing.
Poly count for this stage model: 2K'ish faces

Fourth stage: Legs reworked, next up, texturing

Third stage: arms reworked, now busy with the legs.

First stage was just a crude first design to figure out the general layout of the machine, and in the second stage I expanded on the cockpit and spine sections of the machine.
Polygon count is still quite low, with just under 2K faces for both models combined.

Sunday, April 14, 2013
Submarine render, texture baking experiment

A small experiment I did with texture baking in blender.
It did not entirely succeed... The model on the left has around 60K+ faces, while the one on the right only has only in the 400+ range.
Here's the first try, somehow ended up rather strange.

Learned: pack the texture images and link them to your materials before appending the model to another file or saving, otherwise they won't be added properly.
Tuesday, March 26, 2013
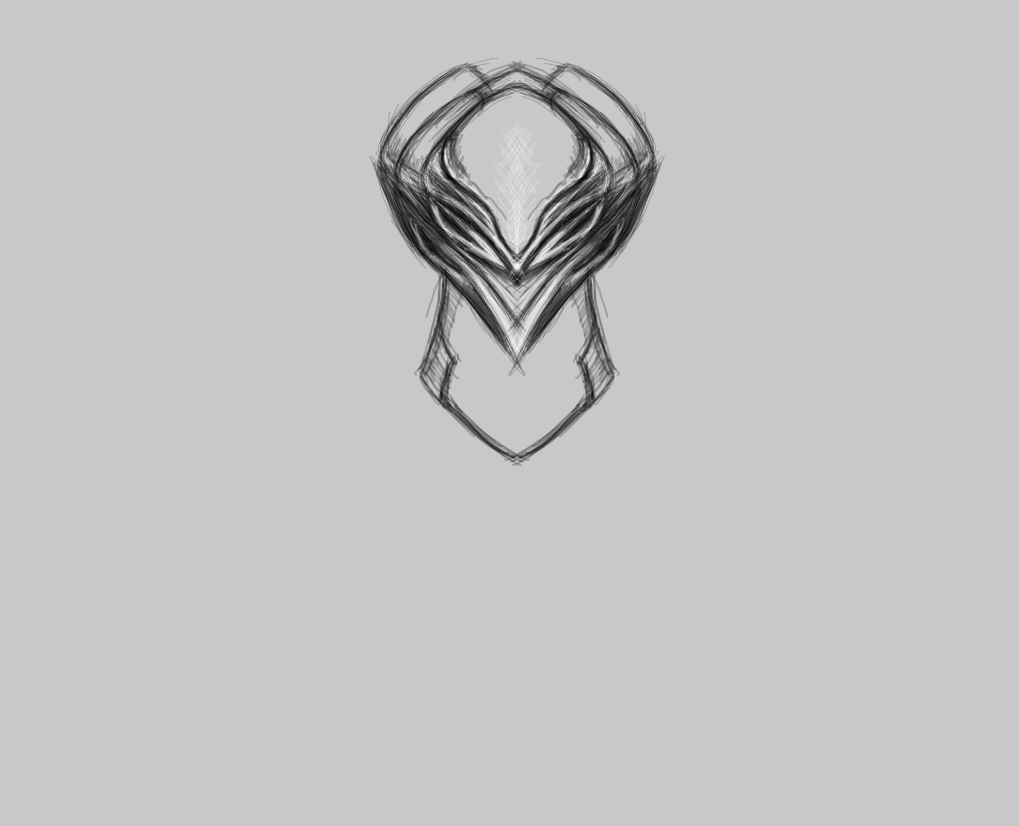
Something put together with Gimp
I just did a small speed-thingy with gimp.
I'm doing the general concept for another 3D thing now.

I'm doing the general concept for another 3D thing now.

Saturday, March 23, 2013
More alchemy sketches for now
Here's my latest batch of alchemy sketches.
Inspiration level raised to 64%, will be running at full capacity again soon.


Inspiration level raised to 64%, will be running at full capacity again soon.



Subscribe to:
Posts (Atom)